Writing a blog post often feels daunting without a plan. A checklist gives you structure, keeps the process simple, and helps you publish content that connects with readers.
This comprehensive Blog Post Checklist breaks down the blog creation journey into manageable phases, giving you a roadmap to follow from initial concept to final publication.
Whether you’re a seasoned blogger like me or just beginning your journey, these steps will guide you through creating content that resonates with readers and performs well online.
This article doubles as a checklist for writing a blog post—a practical guide to ensure you don’t miss a single detail. Think of it as your blog post checklist, breaking the content creation process into manageable steps so you can confidently hit publish every time.
What is a Blog Post?
A blog post is an article designed to inform, educate, or engage an audience on a specific topic. It can spark discussions, share insights, or simply provide useful information in an easy to read format.
In today’s digital landscape, many blogs incorporate AI content strategies to create posts that speak directly to readers, provide valuable insights, and spark meaningful discussions.
What is a Blog Post Checklist?
A blog post checklist is a guide that lists the important steps to follow before, during, and after writing. It helps keep your content consistent, high-quality, and effective. With a checklist, bloggers can improve readability, SEO, and audience engagement.
Key Components of a Blog Post Checklist:
1. Pre-Writing Preparation:
2. Writing and Structuring:
3. SEO Optimization:
4. Post-Writing Actions:
What Are the Essential Items to Include in a Blog Post Checklist?
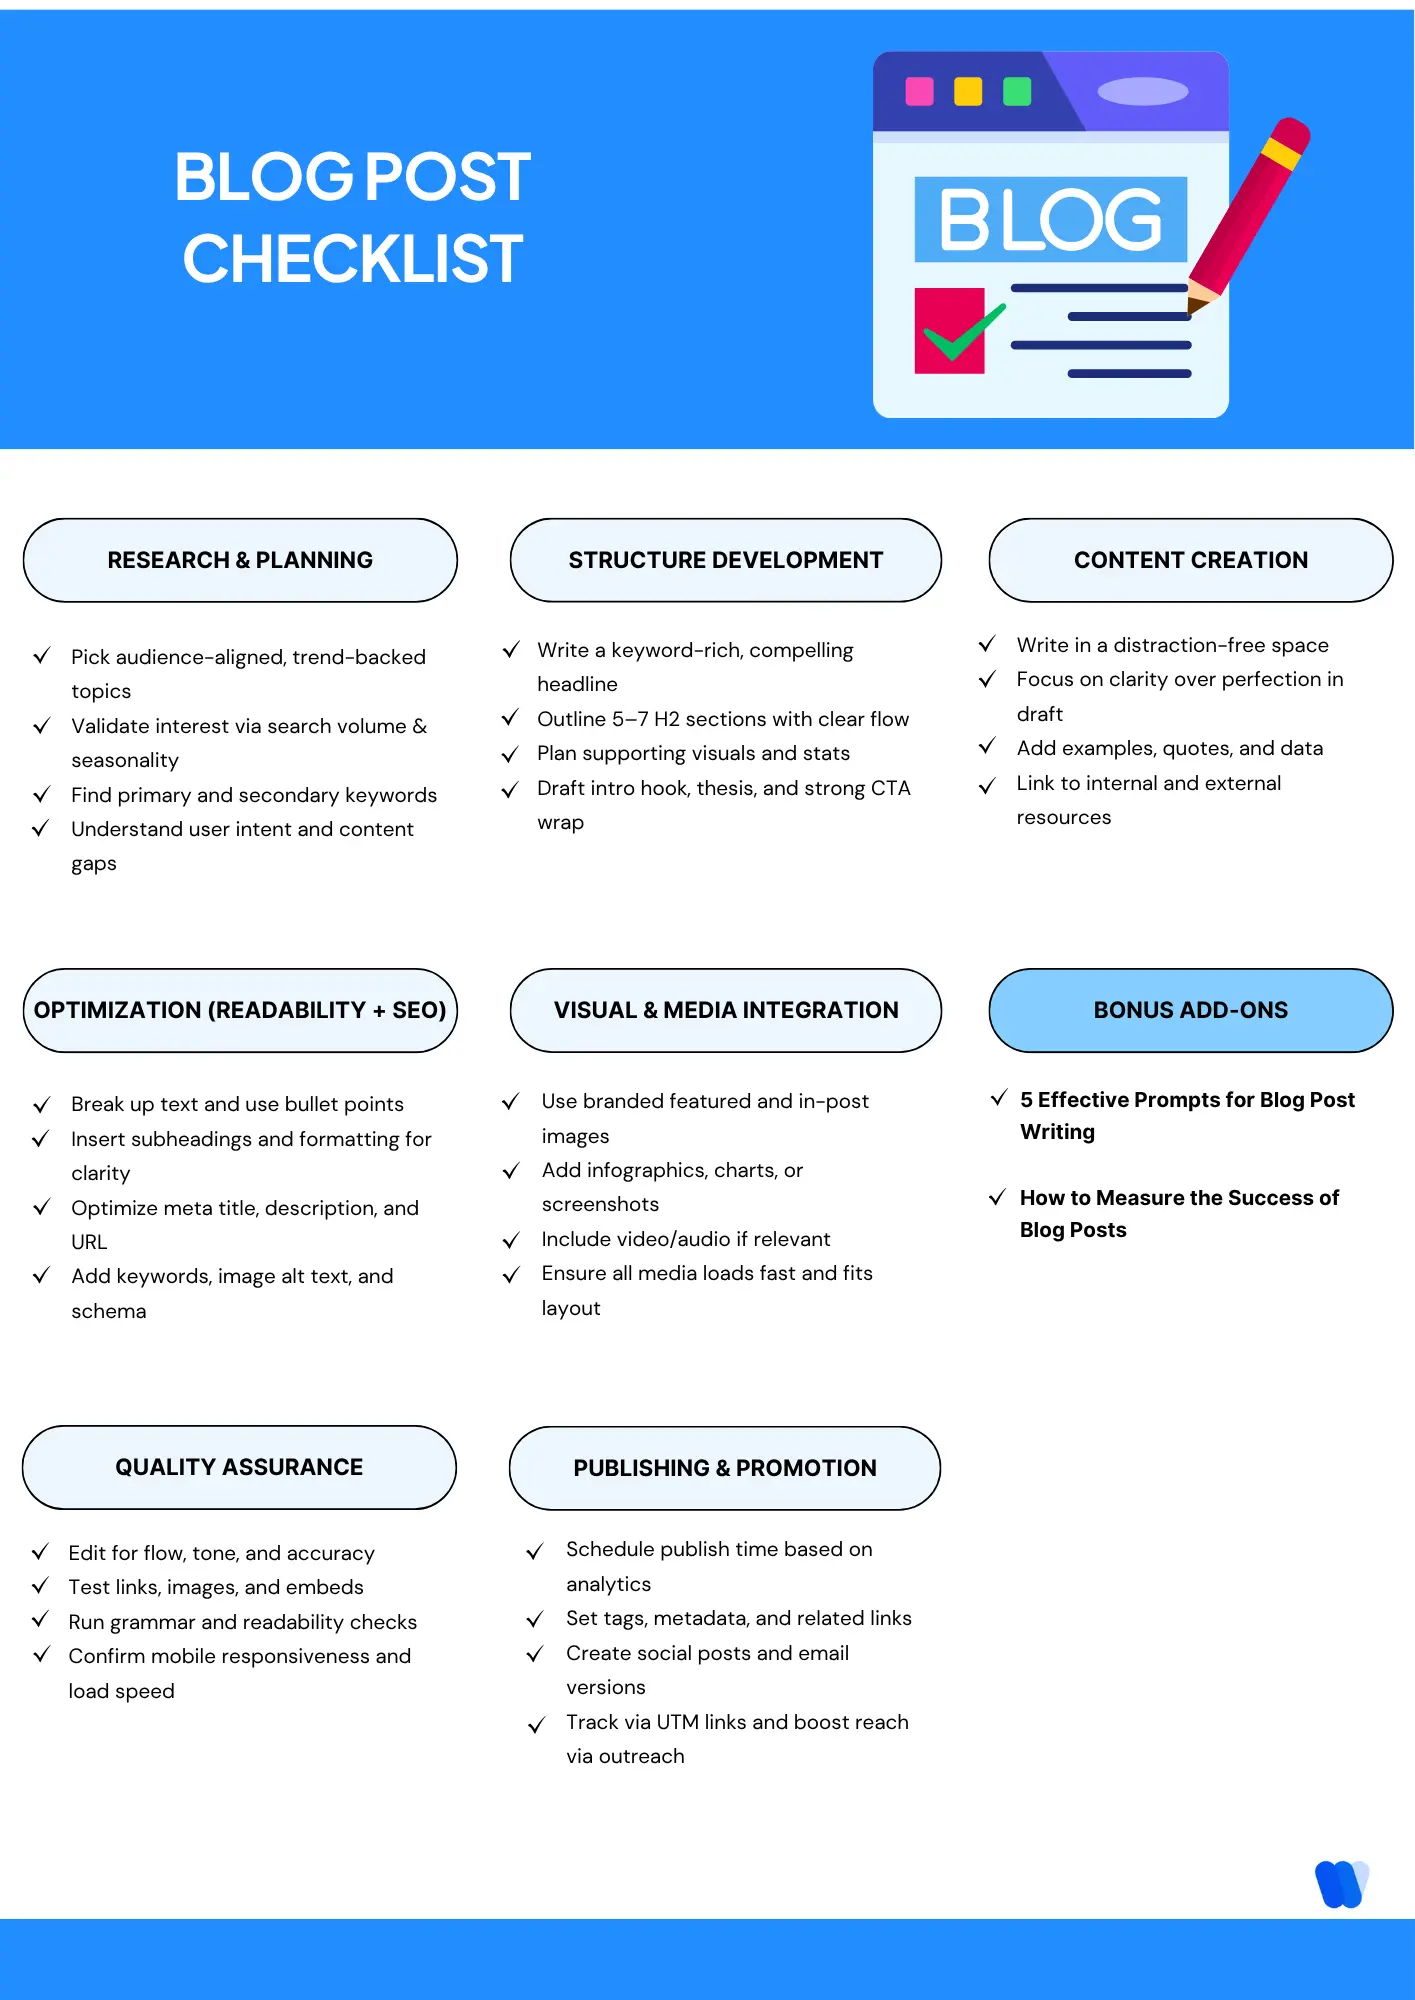
Here’s a step-by-step Blog Post checklist to ensure each post is optimized for discoverability, readability, and engagement from start to finish.
1: Research and Planning
Before diving into writing, thorough preparation sets your blog post up for success. Before you start writing, focus on uncovering what your audience truly wants. Use AI-powered methods for finding content gaps to guide your topic choices and keyword strategy.
Identify Your Readers: Every great blog begins with clarity about who you’re writing for. Take a moment to picture your ideal reader what challenges they face, what they’re curious about, and what tone will feel most natural to them.
When you write with a clear audience in mind, your content instantly feels more personal, relevant, and impactful.
Applying AI-driven content strategies here helps structure keyword clusters and ensure you target the right topics.
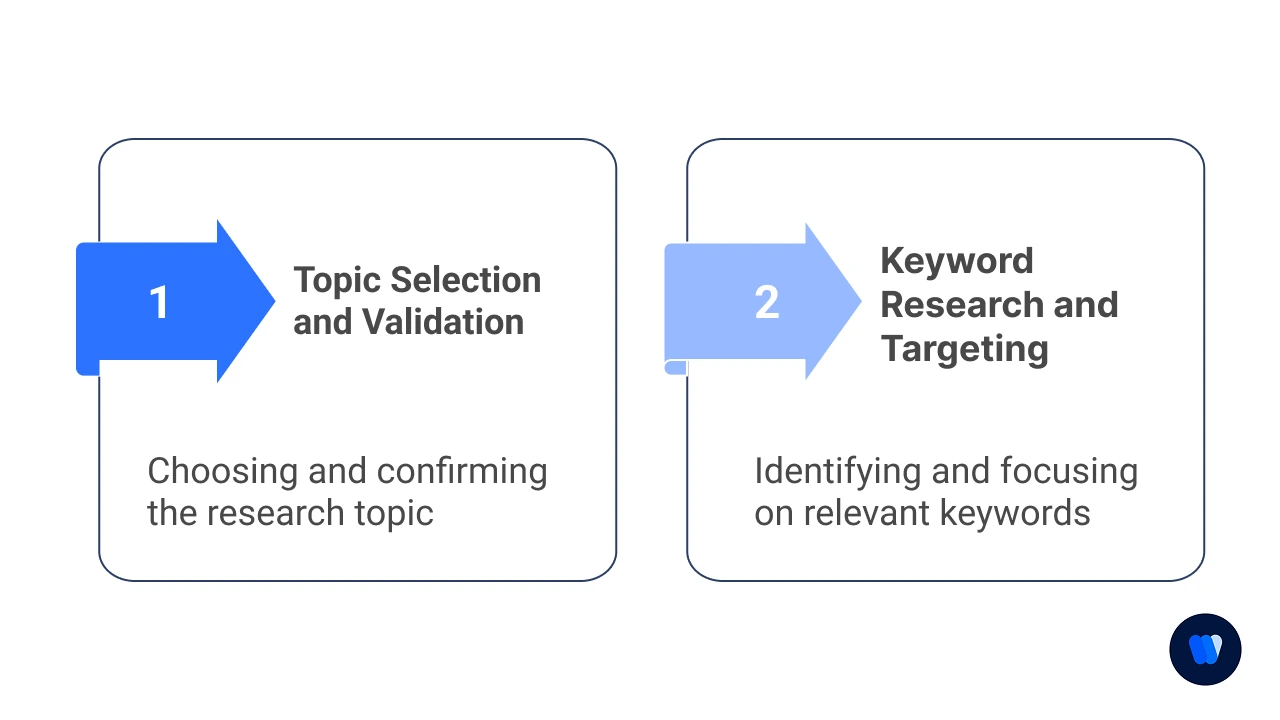
Topic Selection and Validation
Choosing the right topic sets the foundation for your blog post. A validated topic ensures your content aligns with audience needs and drives consistent traffic.
- Identify 3-5 potential topics that align with your audience’s interests
- Check current trends using tools like Google Trends or BuzzSumo
- Analyze your top-performing content for inspiration
- Research competitor blogs for content gaps you can fill
- Validate topic demand through search volume metrics
- Consider seasonality and timing relevance
- Cross-reference with your content calendar for strategic fit
Keyword Research and Targeting
Strong keyword research helps your blog rank and reach the right audience. By balancing difficulty, intent, and search volume, you can uncover the terms worth targeting.
- Identify primary keyword with good search volume and reasonable competition
- Find 5-7 related secondary keywords to incorporate
- Research long-tail keyword variations for additional targeting
- Check keyword difficulty scores to gauge ranking potential
- Identify user intent behind target keywords (informational, transactional, etc.)
- Note common questions related to your keywords
- Create a keyword priority list organized by placement importance
Use this as your checklist for researching blog topics, ensuring you validate demand, fill content gaps, and align your articles with business goals. Effective research and editorial planning form the first step in successful blogging.
Technical Tip: Keyword Research Shortcut:
Use this formula to prioritize keywords: (Monthly Search Volume × Click-Through Rate × Conversion Potential) ÷ Keyword Difficulty = Keyword Value Score.
Focus on keywords with higher scores for better ROI.
For LLM content creation, group your keywords by semantic relationship rather than exact match to help the AI generate more natural content.
| Keyword Type | Best Placement | Recommended Density |
|---|---|---|
| Primary Keyword | Title, H1, First 100 words, URL | 0.5–1% |
| Secondary Keywords | H2 headings, First paragraph of sections | 0.3–0.5% |
| Long-tail Keywords | Body content, Q&A sections | Natural occurrence |
| LSI/Related Terms | Throughout content, Image alt text | Natural occurrence |
2: Content Structure Development
Creating a solid framework ensures your post flows logically and keeps readers engaged. This section of your blog post to-do list focuses on organizing content before writing. By structuring ideas early, you save editing time and improve flow.
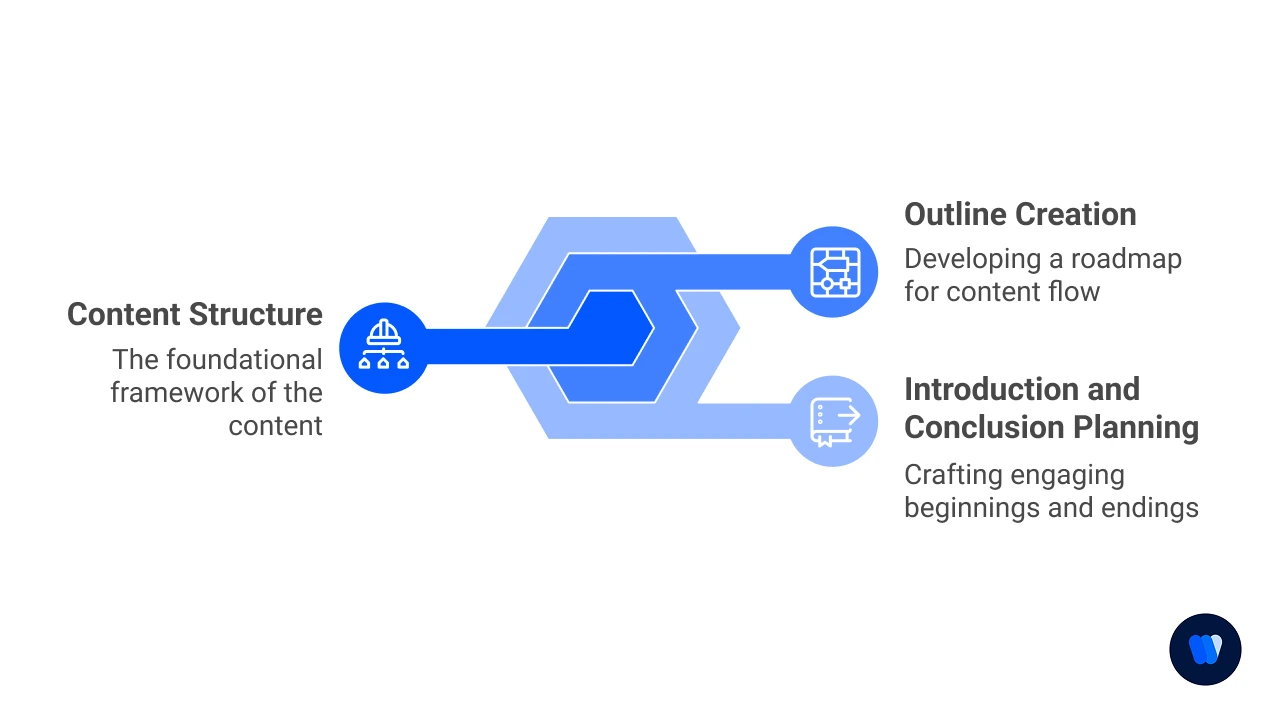
Outline Creation
A strong outline keeps your blog organized and ensures smooth flow from start to finish. It also helps distribute keywords naturally while leaving space for visuals, data, and examples.
- Draft a compelling headline with the primary keyword included
- Structure main sections with H2 headings (5-7 sections)
- Add supporting H3 subheadings for detailed breakdowns
- Plan keyword distribution across different sections
- Include spots for relevant examples or case studies
- Mark areas for potential data points or statistics
- Note places for visual content (images, infographics, videos)
A clear structure helps both readers and search engines understand your content. Applying chunk optimization techniques ensures your blog sections are easily scannable and indexed.
Introduction and Conclusion Planning
The beginning and end of your post leave the strongest impression on readers. A powerful introduction hooks attention, while a strong conclusion reinforces key takeaways and drives action.
- Outline attention-grabbing opening hook options
- Plan how to establish the problem/need in the intro
- Draft thesis statement or main value proposition
- Plan transition to main content sections
- Outline key takeaways for conclusion
- Plan call-to-action variations
- Sketch related content recommendations for end of post
Cheat Sheet: Blog Post Structure Templates
| Template Type | Sections |
|---|---|
| Problem-Solution | – Intro (problem) – Pain points breakdown – Solution introduction – Solution steps – Implementation guide – Results/benefits – Conclusion with CTA |
| List-Based | – Strong intro – Numbered list with detailed explanations – Practical applications – Common mistakes to avoid – Tools/resources – Conclusion with next steps |
| Tutorial | – Goal statement – Requirements/prerequisites – Step-by-step instructions – Troubleshooting tips – Variations/customizations – Success examples – Next-level challenges |
I personally find the Problem-Solution template works wonderfully for most of my technical posts, while the List-Based approach drives more engagement when I’m creating resource-type content.
Your mileage may vary, but don’t be afraid to experiment!
Did you know?
Is there a difference between a blog checklist and an editorial checklist?
An editorial checklist is a high-level planning tool for your entire content calendar, while a blog checklist focuses on one post’s quality, SEO, and readiness for publishing.
3: Content Creation
Now it’s time to turn your ideas into engaging written content. Writing a great post means more than putting words on a page—it’s about following a clear Blog Post Checklist and understanding how to write an effective article.
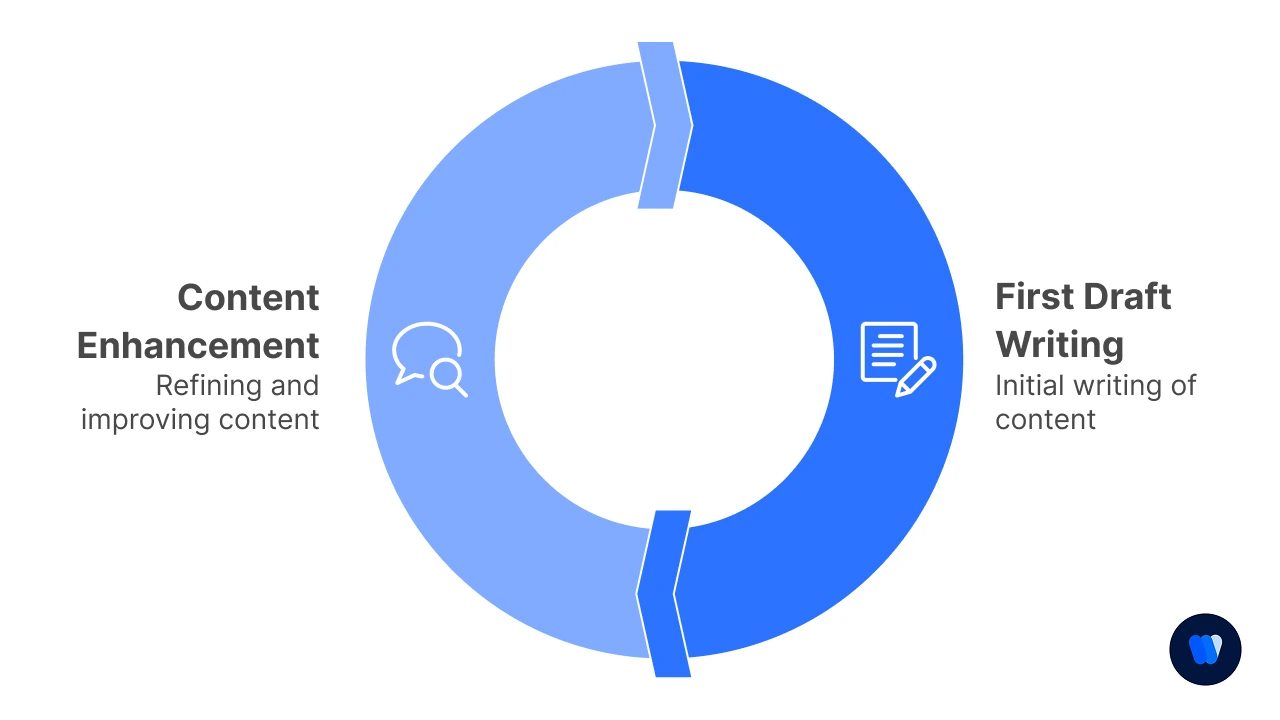
First Draft Writing
- Set a distraction-free writing environment
- Aim for clarity over perfectionism in the first draft
- Write a compelling introduction that states the purpose
- Create smooth transitions between sections
- Include personal anecdotes where relevant
- Address potential reader questions throughout
- End with a conclusion that reinforces key points
Content Enhancement
- Add relevant examples to illustrate key points
- Insert data points and statistics to support claims
- Include expert quotes or insights when applicable
- Create custom graphics or select stock images
- Develop helpful charts, tables, or infographics
- Add internal links to your relevant content
- Include external links to authoritative sources
Add internal links to your relevant content. For example, if you’re writing on SEO, be sure to reference topics like content cannibalization so readers understand how overlapping keywords can hurt rankings.
Wondering what tools help with blog post creation? Grammarly for grammar, Hemingway Editor for readability, Canva for visuals, and KIVA for keyword optimization are excellent options to streamline the process.
Tool Tip: Content Creation Assistants When drafting with LLMs, try “temperature cycling” – use higher temperature settings (0.7-0.9) for creative sections like introductions and lower settings (0.2-0.4) for factual or technical parts.
This gives you both creativity and accuracy where needed.
For revisions, try describing the specific tone or style change needed rather than asking for generic improvements.
| Content Section | Ideal LLM Temperature | Style Focus |
|---|---|---|
| Introduction | 0.7–0.9 | Creative, engaging, personal |
| Main Content | 0.4–0.6 | Balanced, informative, flowing |
| Technical Sections | 0.2–0.4 | Precise, factual, structured |
| Conclusion | 0.6–0.8 | Persuasive, inspiring, action-oriented |
In my experience, I’ve found that starting with a brain dump of ideas helps overcome writer’s block.
I turn off my internal editor and just get everything on the page, knowing I can refine it later.
This approach has saved me countless hours of staring at a blank screen!
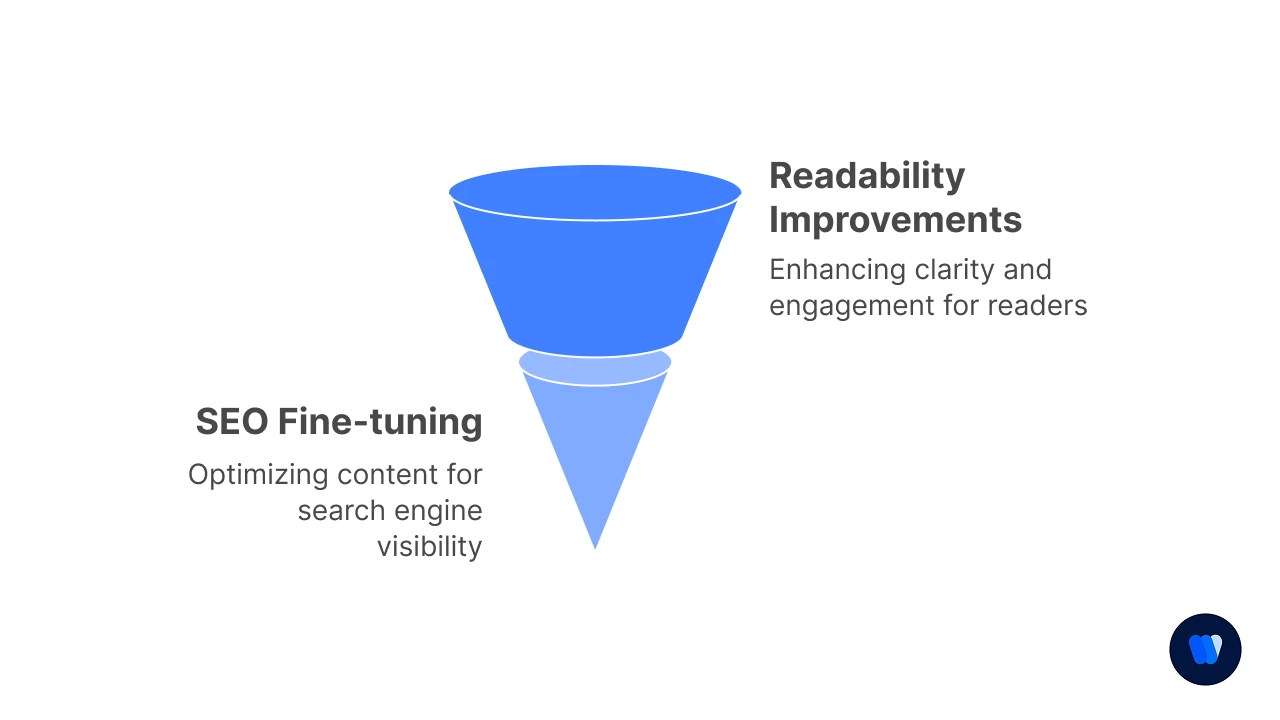
4: Optimization for Readability and SEO (SEO Checklist for Blog Posts)
Publishing a blog is only half the battle — making sure it’s search-engine-friendly is what drives visibility and traffic. A blog that’s optimized for both readability and SEO signals can rank higher, appear in featured snippets, and keep readers engaged longer.
Readability is essential for keeping readers engaged. Use proven frameworks from Content Readability in SEO to make your blog skimmable and rank-friendly.
Here are 4 key ways to ensure your blog post is SEO-friendly:
- Prioritize Readability
Break content into short paragraphs (2–3 sentences), use subheadings, and apply bullet points for easy scanning. Clear formatting reduces bounce rates and signals quality to search engines. - Optimize On-Page Elements
Place your primary keyword in the H1, first 100 words, and meta title. Add a compelling meta description (150–160 characters), and ensure all images have descriptive alt text. - Use Schema & Structured Data
Implement schema markup to help search engines understand your content’s context. This increases your chances of appearing in rich results like FAQs and People Also Ask. - Check Technical SEO Factors
Create SEO-friendly URLs (short, keyword-rich, and clean), improve page speed by compressing images, and ensure mobile responsiveness so your blog is accessible on all devices. - Descriptive URLs: A strong URL should act like a promise—it tells readers exactly what they’ll find before they even click. Instead of cryptic links or random strings, use clear and descriptive words that mirror the post’s topic. Not only does this build trust with readers, but it also signals relevance to search engines, making your content easier to discover.
Technical Note: Readability Analytics
Use these readability benchmarks to measure your content:
Flesch Reading Ease score between 60-70 is ideal for general audiences.
Average sentence length should be 14-20 words.
For LLM-created content, run the “highlight adverbs and passive voice” check in a tool like Hemingway Editor, as these are common LLM writing patterns that can reduce readability.
I’ve learned the hard way that readability matters more than fancy vocabulary.
When I first started blogging, I tried to sound impressive with complex sentences and industry jargon.
My engagement rates were terrible! Now I aim for clarity first, and my readers thank me for it.
Writing clear and engaging content can help you increase user engagement, improve your SEO, and make your blog more successful. One way to stay consistent is by using a Blog Post Checklist. Let’s take a look at five actionable tactics you can implement when it comes to structuring your posts: Readers want answers fast. Long-winded introductions or excessive buildup can frustrate your audience and push them away. Instead, present the main idea upfront so they know what value they’ll get from your post. This approach applies to each section too. Leading with relevant details or a quick summary helps readers skim and find exactly what they’re looking for without wasting time. A few tightly written paragraphs are enough to set the stage. Any more, and you risk burying your main message under unnecessary detail. Clear writing starts with clear planning. Without a roadmap, it’s easy to lose track of your ideas and confuse your readers with poor structure. An outline doesn’t have to be complicated. Define your topic, note your primary and secondary keywords, and list the sections you’ll cover. This keeps your article focused and ensures logical flow from start to finish. When you outline first, you’ll save editing time later and deliver a blog post that feels polished and easy to follow. Your introduction sets the tone and convinces readers to keep going. If it’s weak or vague, they may click away before reaching the heart of your content. A strong hook can take different forms — a question, a surprising fact, or a relatable scenario. The key is to connect with your audience’s intent and show them the value of continuing to read. Make your introduction clear, engaging, and tailored to your readers’ needs. It’s the gateway to the rest of your post. Large blocks of text can overwhelm readers, especially on mobile devices. Breaking up your content with images, infographics, or short videos makes it more engaging and digestible. Visuals aren’t just decorative — they reinforce your message and help explain complex ideas faster than text alone. Readers are also more likely to share posts with strong visuals, boosting reach. As a rule of thumb, aim to include a visual every 200–300 words to keep your post scannable and inviting. Readers appreciate brevity. Overly long sentences or unnecessary filler can slow them down and dilute your message. Concise writing keeps your content sharp and easy to scan. Stick to short paragraphs (2–3 sentences) and clear language. Replace jargon with simpler terms and cut out anything that doesn’t add value. By trimming the fluff, you create content that feels faster to read, which encourages visitors to stay longer and engage more deeply.Tips for Structuring Blog Posts That Are Easy to Read
1. Get to the Point
2. Write an Outline Before You Write Your Blog Post
3. Use the Beginning of Your Post to Hook Visitors
4. Break Up Text With Photos and Videos
5. Be Concise
5: Visual and Media Integration
Visuals enhance engagement and help explain complex concepts. Adding images, infographics, or videos increases engagement. Try ways to repurpose content with AI to create visuals quickly and efficiently.
Use this blog post image optimization checklist:
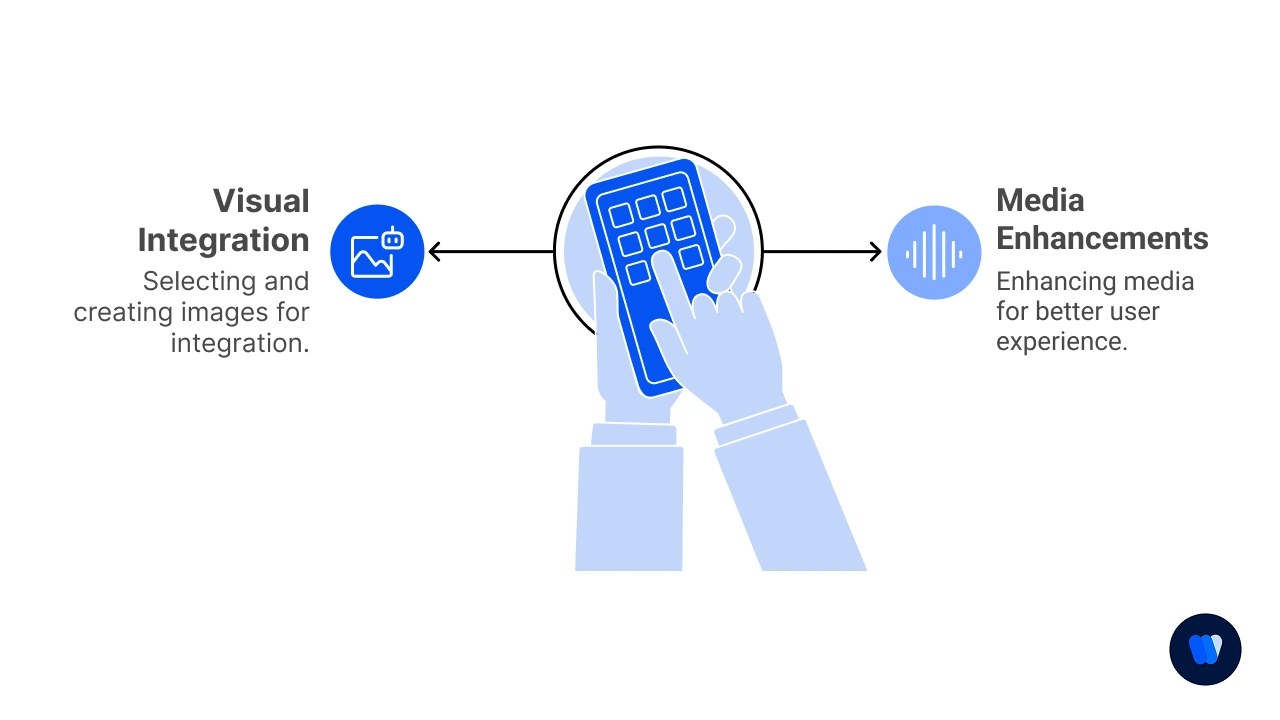
Image Selection and Creation
- Create a custom featured image incorporating your branding
- Design or select supporting images for key sections
- Create at least one shareable infographic
- Capture relevant screenshots if applicable
- Ensure all images are properly sized and compressed
- Maintain consistent style across all visuals
- Plan image placement for optimal reading flow
Typography and Readability
- Use clean, easy-to-read fonts (sans-serif works well for digital).
- Keep a clear hierarchy between headings and body text.
- Ensure strong color contrast between text and background for accessibility.
- Maintain consistent font sizes and spacing to guide the reader smoothly.
- Test readability on both desktop and mobile for a seamless experience.
Multimedia Enhancements
- Consider adding embedded video content
- Create or add audio version for accessibility
- Design interactive elements if appropriate
- Add slideshows for step-by-step processes
- Include tweetable quotes or snippets
- Consider adding downloadable resources
- Plan for social media share images
Image Size Quick Reference:
| Image Type | Recommended Size | Optimization Target |
|---|---|---|
| Featured images | 1200 × 630px | Social sharing preview |
| In-post images | 800px width min | Readability, detail balance |
| Infographics | 800 × 2000px | Information density, sharing |
| File size | Under 100KB | Page speed optimization |
| Format | WebP (JPEG fallback) | Modern compression, quality |
I’ve found that my posts with custom visuals get 3x more shares than those with stock photos alone.
Since I’m not a designer by training, I use Canva templates as starting points and customize them with my brand colors and style.
This approach saves me hours while still looking professional!
6: Quality Assurance and Review (Proofreading Checklist for Blog Articles)
Thorough editing ensures your post is polished and professional. Editing and quality checks make your post trustworthy. Learn how to avoid plagiarism and ensure your content passes credibility checks.
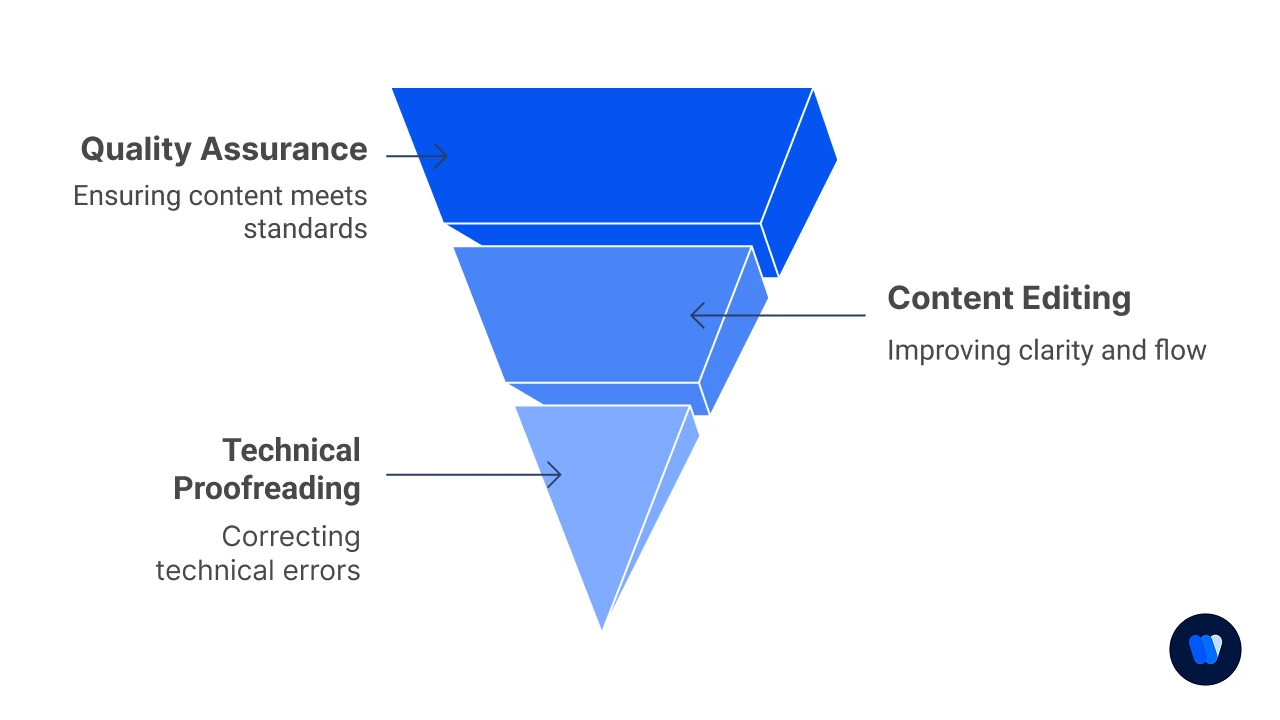
Content Editing
- Check for factual accuracy and up-to-date information
- Verify all statistics and data points with sources
- Review for consistent voice and tone throughout
- Ensure logical flow between sections
- Remove redundant information and fluff
- Check for consistent formatting (headings, lists, etc.)
- Have a second pair of eyes review when possible
Technical Proofreading
- Run spell check and grammar review
- Manually click and test every internal and external link to confirm they direct to the right page, load quickly, and add genuine value.
- Broken links frustrate readers and damage SEO trust signals.
- Check all links work correctly
- Perform a dedicated grammar and spelling sweep to catch even the smallest errors.
- Read the post aloud or use advanced tools like Grammarly to refine phrasing and ensure polished flow.
- Verify image loading and proper display
- Test embedded media functionality
- Ensure mobile responsiveness
- Check loading speed of heavy elements
- Validate any code snippets or technical content
Tool Tip: Quality Assurance Checklist
| Task | Criteria | Status |
|---|---|---|
| Grammarly Score | Score > 90 | ☐ |
| Hemingway Grade Level | Grade ≤ 8 | ☐ |
| All Links Tested | Internal and external links functional | ☐ |
| Image Alt Text Verified | All images have descriptive alt text | ☐ |
| Headline Analyzed (CoSchedule) | Score > 70 | ☐ |
| Mobile Preview Checked | Responsive on mobile | ☐ |
| Reading Time | Under 7 minutes (standard posts) | ☐ |
| Metadata Complete | Title, meta description, slug, tags filled | ☐ |
| Featured Image Optimized | Proper size, SEO-friendly name | ☐ |
| Internal Links | Minimum 3 internal links | ☐ |
| External Links | Minimum 2 external links | ☐ |
I learned about the importance of thorough editing after publishing a post with a broken download link that went unnoticed for three days!
Now I have a mandatory 24-hour “cooling period” between writing and publishing, which catches so many little errors my tired eyes missed initially.
7: Publishing and Promotion
Strategic publishing and promotion maximize your post’s reach and impact. This section serves as your standard blog publishing checklist and outlines the process for publishing online articles. Each step ensures your content is optimized for maximum reach.
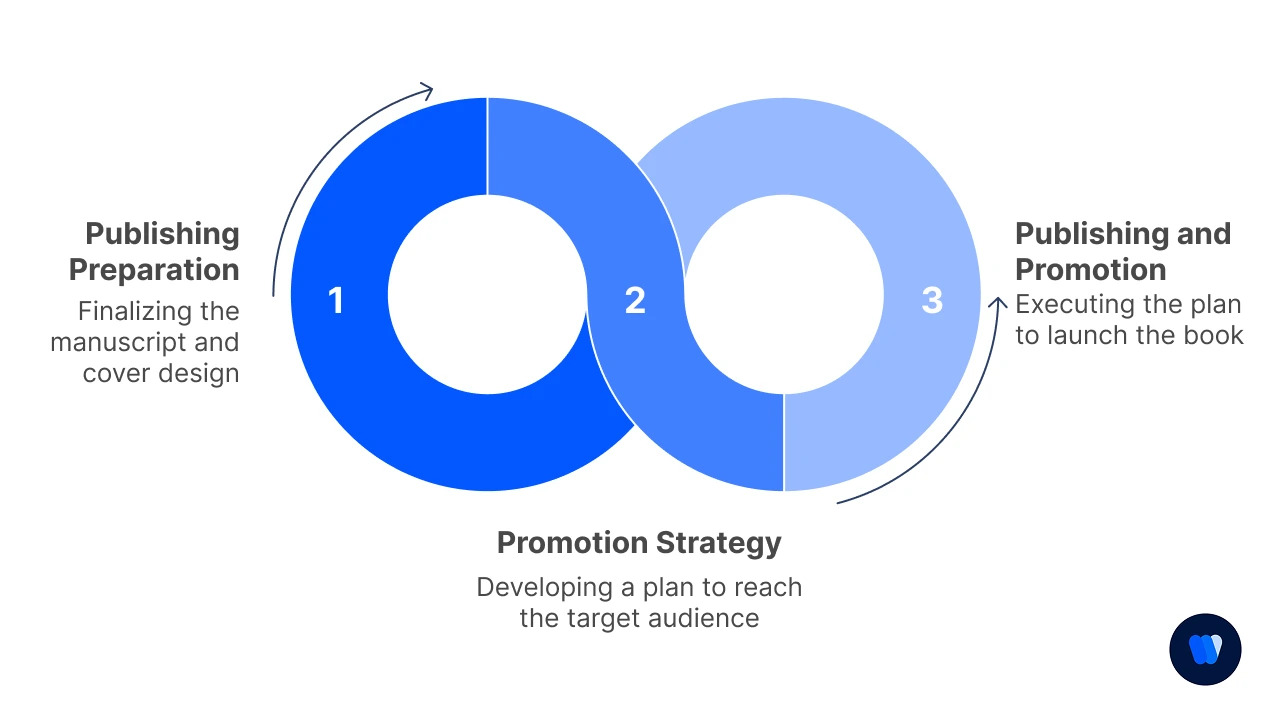
Publishing Preparation
- Schedule for optimal publishing time based on analytics
- Set up proper categories and tags
- Configure social sharing metadata and images
- Check comment settings and moderation options
- Prepare email newsletter version if applicable
- Set up tracking parameters for campaign links
- Configure related posts recommendations
Promotion Strategy
Here’s how to promote a blog post after publishing:
- Create platform-specific social media posts
- Schedule social shares at peak engagement times
- Plan follow-up promotion for evergreen content
- Prepare outreach emails for relevant influencers
- Submit to relevant content aggregators if applicable
- Share your post in relevant online communities, industry forums, or niche groups
- Position it as a resource that adds value to discussions rather than self-promotion to spark authentic engagement.
- Set up paid promotion if budget allows
- Plan internal linking from existing content
Promotion is as important as creation. Optimize your post for AI-driven search visibility with this AI Overviews Optimization guide.
Technical Note: Promotion Analytics Setup
Before publishing, set up these UTM tracking parameters for different promotion channels:
- Email: ?utm_source=newsletter&utm_medium=email&utm_campaign=blog_[month]
- Twitter: ?utm_source=twitter&utm_medium=social&utm_campaign=blog_[month]
- LinkedIn: ?utm_source=linkedin&utm_medium=social&utm_campaign=blog_[month]
- Facebook: ?utm_source=facebook&utm_medium=social&utm_campaign=blog_[month]
This gives you clean channel-specific performance data in Google Analytics to optimize future promotion strategies.
| Promotion Channel | Best Post Types | My Optimal Timing |
|---|---|---|
| How-to, Industry trends | Tuesday 9am or Thursday 2pm | |
| Quick tips, News | Weekdays 12pm or 5pm | |
| Stories, Visual content | Weekend mornings, Weekday 7pm | |
| Deep dives, Exclusive content | Wednesday 10am or Thursday 3pm |
I used to publish and hope for the best, but now I spend almost as much time promoting my content as I do creating it.
My favorite promotion hack is reaching out to people I’ve mentioned or linked to in the post – they’re often happy to share content that features them, giving me instant access to their audience.
In addition, don’t hesitate to directly encourage readers to share the post if they found it useful. A simple line such as “If this helped you, share it with your network” can expand your reach through organic word-of-mouth.
What Are The Benefits of Using a Blog Post Checklist?
Using a blog post checklist provides multiple advantages that can elevate the quality, clarity, and impact of your content. Below are some of the main benefits:
1. Ensures Comprehensive Content
A checklist ensures you don’t miss critical elements—like a strong introduction, clear subheadings, and a solid conclusion—leading to a complete and informative post.
2. Improves Readability
By encouraging short sentences, brief paragraphs, and proper formatting such as lists and bullet points, a checklist makes your content easier to read and more enjoyable for your audience.
3. Enhances SEO Optimization
It reminds you to include essential SEO factors like target keywords, meta descriptions, and optimized images, helping your post perform better in search engines and attract more visitors.
4. Maintains Consistency
Following a checklist helps every post stick to the same structure and style, creating a consistent brand voice and professional appearance across your content.
5. Saves Time
With a clear framework to follow, you can speed up the writing and editing process, avoid missing key details, and cut down on the need for major revisions.
6. Encourages Engagement
By prompting the use of CTAs, internal and external links, and multimedia, a checklist boosts audience interaction and keeps readers engaged with your content.
In summary: A blog post checklist is a powerful tool that helps you create complete, engaging, and SEO-friendly posts that connect better with readers and deliver lasting results.
What Steps Should I Take Before and After Publishing a Blog Post?
Publishing is only part of the process—ensuring quality before and promoting smartly after makes all the difference. Here’s a Blog Post Checklist of 10 practical steps to guide you from draft to distribution.
Blog Post Checklist
1. Review for Clarity and Accuracy
2. Optimize for SEO and Readability
3. Proofread Thoroughly
4. Test All Links
5. Add Visual Enhancements
6. Set Metadata Correctly
7. Ensure Mobile Responsiveness
8. Promote After Publishing
9. Monitor Performance
10. Refresh and Update Regularly
5 Effective Prompts for Blog Post Writing
Research Prompt: “Create a comprehensive research brief on [topic], including key subtopics, common questions, current trends, competing viewpoints, and 5-7 statistical data points with their sources. Focus on aspects that would interest [your target audience].”
Outline Builder: “Generate a detailed blog post outline about [topic] for [target audience] with the primary keyword [keyword]. Include an introduction covering the problem, 5-7 main sections with subheadings, and a conclusion with next steps. For each section, suggest one unique insight or data point to include.”
Introduction Creator: “Write 3 different introduction approaches for a blog post about [topic] targeting [audience]. Each intro should be under 150 words, include the keyword [keyword], have a unique hook (story/statistic/question), and clearly explain what the reader will gain from the article.”
Content Expander: “Expand this section outline: [paste outline point] into a fully developed section of 300-400 words. Include a real-world example, practical application, and address one common objection or question. Maintain a conversational tone as if explaining to a friend.”
Conclusion Optimizer: “Create a conclusion for my blog post about [topic] that: 1) summarizes the 3 main points, 2) reinforces the key benefit for the reader, 3) addresses why taking action now is important, and 4) ends with a specific call-to-action to [desired next step].”
How to Measure the Success of Blog Post Checklist
Tracking the right metrics helps you understand what works and how to improve future content. Tracking blog performance helps refine your strategy. Bookmark the Top Content Marketing Statistics page to benchmark your progress over time.
Traffic Metrics
- Page Views: The average blog post gets 1,177 views, but top-performing posts reach 3,000+ views Orbit Media
- Unique Visitors: Measure new vs. returning visitors ratio (industry average is 75% new, 25% returning)
- Traffic Sources: Successful posts typically have diverse traffic sources with no single source exceeding 60% of total traffic
- Time on Page: The average is 3 minutes 17 seconds, but posts over 2,000 words typically see 5+ minutes
- Bounce Rate: Blog posts average 65-70% bounce rate; rates under 60% indicate strong engagement
Engagement Metrics
- Comments: The average blog post receives 7 comments, though this has declined with social media sharing
- Social Shares: Average share counts vary by platform (LinkedIn: 45, Facebook: 30, Twitter: 15)
- Backlinks: Quality posts gain 3-5 backlinks in their first month
- Email Click-through Rate: Blog announcement emails average 4.8% CTR
- Scroll Depth: 80% of users read headlines, but only 20% read entire articles
Conversion Metrics
- Conversion Rate: The average blog post converts 1-2% of visitors to leads
- Lead Quality: Blog-generated leads have 13% higher ROI than trade show leads
- Call-to-action Performance: Middle-of-post CTAs perform 25% better than end-of-post CTAs
- Content Upgrades: Posts with relevant downloadable resources convert 2-5x better than those without
- Returning Visitors: Regular readers are 9x more likely to convert than first-time visitors
| Metric Category | Beginner Blog | Established Blog | My Personal Goals |
|---|---|---|---|
| Monthly Pageviews | 500–1,000 | 10,000+ | 5,000 by Q3 |
| Avg. Time on Page | 2 min | 4+ min | 3.5 min |
| Conversion Rate | 0.5–1% | 2–3% | 1.5% |
| Backlinks/Post | 0–1 | 5–10 | 3+ |
| Social Shares | 10–20 | 100+ | 50+ |
In my first year of blogging, I obsessed over pageviews and was disappointed with my metrics.
Then I shifted focus to conversion rates and email subscribers, which completely changed my content strategy.
Now I’d rather have 500 highly engaged readers than 5,000 who bounce after 10 seconds. Quality over quantity has been my most important lesson!
By tracking these metrics consistently, you’ll gain insights into what topics, formats, and promotion strategies work best for your specific audience.
Remember that metrics should be compared against your own benchmarks rather than generic averages, as success varies greatly by industry and audience type.
Creating an effective blog post involves more than just writing; it requires careful planning and attention to detail. Here are some common mistakes to avoid: Writing only about topics that interest you without considering your readers can lead to low engagement. Always ensure your content addresses the questions and problems your audience faces. Irregular updates may cause readers to lose interest. Maintaining a consistent publishing schedule helps keep your audience engaged. Ignoring SEO can limit your blog’s reach. Use relevant keywords, optimize meta descriptions, and ensure your site is mobile-friendly to improve visibility. Publishing many low-quality posts can damage your credibility. Focus on delivering well-researched and valuable content that resonates with readers. Unorganized content makes posts hard to read. Use headings, subheadings, bullet points, and short paragraphs to enhance clarity. Publishing alone isn’t enough. Promote your content on social media, email newsletters, and other platforms to expand your reach. Failing to add links can harm SEO and reader experience. Internal links guide readers to related posts, while external links build credibility. Spelling and grammar mistakes can make your blog appear unprofessional. Always proofread carefully or ask someone else to review before publishing. Excessive promotion can drive readers away. Keep the focus on providing value and use promotional content sparingly. Ignoring comments or failing to invite interaction makes your blog feel impersonal. Encourage feedback and respond to readers to build stronger connections. By avoiding these pitfalls, you can create blog posts that are polished, engaging, and effective in connecting with your audience.Common Mistakes to Avoid in a Blog Post Checklist
1. Neglecting Your Audience’s Needs
2. Inconsistent Posting Schedule
3. Overlooking SEO Best Practices
4. Prioritizing Quantity Over Quality
5. Lack of Clear Structure and Formatting
6. Ignoring Content Promotion
7. Neglecting Internal and External Links
8. Skipping Proofreading and Editing
9. Overusing Self-Promotion
10. Not Engaging with Readers
- Content Strategy Checklist for 2025: Content Strategy Checklist
- Content Marketing Plan Checklist: Content Marketing Plan Checklist
- LLM Pattern Analysis Checklist: LLM Pattern Analysis Checklist
- Editorial SEO Style Guide Creation with LLMs Checklist: Editorial SEO Style Guide Creation with LLMs Checklist
- E-E-A-T Strengthening SEO Checklist Using LLM Outputs: E-E-A-T Strengthening SEO Checklist Using LLM Outputs
- On-Page SEO Content Checklist for LLM-Generated Content: On-Page SEO Content Checklist for LLM-Generated Content
- Deliverables Checklist for Agencies: AI Visibility Deliverables Checklist for Agencies (2026 Guide)
FAQs
The purpose of a checklist is to maintain consistency, save time, and improve the quality of your blog posts. It helps writers and editors follow a proven process from ideation to publication.
Review and adjust your blog checklist quarterly to stay aligned with SEO changes, new content formats, and reader preferences. Regular updates keep your process relevant and efficient.
Yes! For example, healthcare and finance blogs often include extra steps for compliance or legal reviews.
Conclusion
Mastering content creation becomes much easier when you follow a clear, repeatable process. This Blog Post Checklist is designed to help you plan, write, optimize, and promote posts that engage readers and perform well in search results.
By using it consistently, you’ll save time, avoid common blogging mistakes, and confidently publish high-quality content every time.


![AI Visibility for B2B Marketing Agencies: The Shortlist-Defense Playbook [2026]](https://wellows.com/wp-content/uploads/2026/06/ai-visibility-b2b-marketing-agencies.webp)

